Your feet are likely going to be your major method of travel while camping, whether you’re all-out backpacking or just making a family day hike, which is exactly why we’ve compiled a list of tips to help you maintain happy hiking feet. No two hikers’ feet are the same, meaning everyone will have different experiences hiking and, perhaps, different levels of foot pain. We’ve created a list of preventative measures to avoid blisters and make hitting the trails a whole lot more fun.
1. THE RIGHT BOOTS
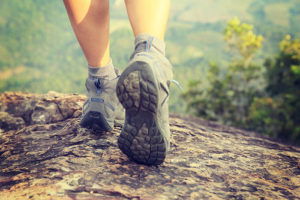
First and foremost, make sure you select a pair of hiking boots with good fit. You don’t want boots that chafe your feet or have painful pressure points. Choose watertight, but yet breathable boots with good ventilation. Your toes will need plenty of room to wiggle and breathe with at least one finger width between your longest toe and the front inside of the boot. Heels should fit securely in the heel cups, moving no more than a quarter-inch upward when you walk. You also want to make sure you’re not sliding around in the boot while walking up or down an incline. Be sure to break your boots in before you wear them on the trail.
2. STAY DRY
You do not want your feet getting wet. If your feet are feeling moist or overheated while your hiking, if possible, you may want to remove your socks and boots and take a rest. It’s really smart to carry a spare pair of socks in your pack to switch at mid-day.

3. FIRST AID
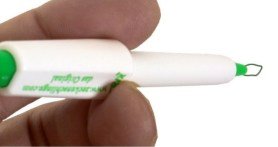
Carry a small foot care kit along with you like this Lifeline Trail Light Dayhiker First Aid Kit. It’ll only weigh a few ounces and you’ll probably regret not bringing one if you do get a blister while hiking. It should contain all the necessities to maintain happy hiking feet including: lubricant or powder, alcohol wipes to clean off the skin, a sterilized needle, moleskin, band aids, etc.
Despite all the precautions, you may still develop a hotspot or a full-fledged blister.
4. MANAGE YOUR TOENAILS
You don’t want your socks catching on your toenails and adding pressure on the nail bed. Nails that are too long are also prone to pressure from a toe box that’s too short or too low. Trim your toenails straight across, leaving an extra bit of nail on the outside corner to prevent ingrown toenails.
5. WEAR GOOD SOCKS
If you’re wearing a good pair of socks under your hiking boots you’re already taking an important measure to protect your feet against blisters. If not, you need to find a pair of hiking socks to help reduce friction between your feet and boots, provide your feet with additional cushioning, and help your feet maintain thermal equilibrium. Avoid moisture-retaining cotton and instead go with moisture-wicking wool or synthetics.
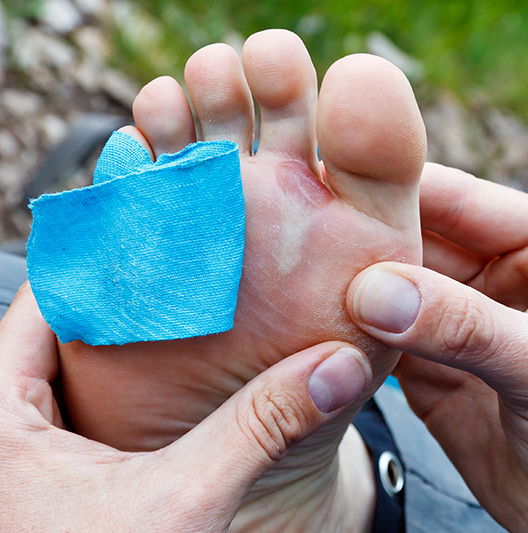
6. EARLY TREATMENT
It takes time for blisters to develop, so when you feel one coming, you need to apply early treatment to prevent actual blisters. If you feel a sore and irritated spot on your foot, remove your boots and socks, immediately clean any sand or dirt from your feet. Elevate your feet if possible, letting them dry and cool for a bit. Next, cover the area with surgical tape, a band-aid, or our favorite option — moleskin. When you’re done hiking, remove the moleskin and let your skin recover during the night. Decide the next morning whether you need to apply again.
7. HEALING BLISTERS AFTER THE FACT
Blisters come in different shapes and sizes. In order to treat a blister you need to first assess it. If you have broken blisters leaking fluid, you should disinfect and bandage as soon as possible. Unbroken blisters that are painful should be pricked with a sterilized needle from the side nearest to the base of the blister and drained.
If the affected skin is still intact do not remove it. Cover it with moleskin. However if the area is ruptured you can carefully cut it away and clean the underlying skin with an antiseptic. When you’re ready to move on, apply moleskin and use gauze to prevent the moleskin from directly contacting the tender new skin.
If the blister is buried deep in your skin and does not hold a lot of liquid, then do not try to puncture it, just cover it with moleskin and you’ll have happy hiking feet once again!