single condition is trueParagraph count: 8If there are more than 3 paragraphs, insert after the 3rd paragraph
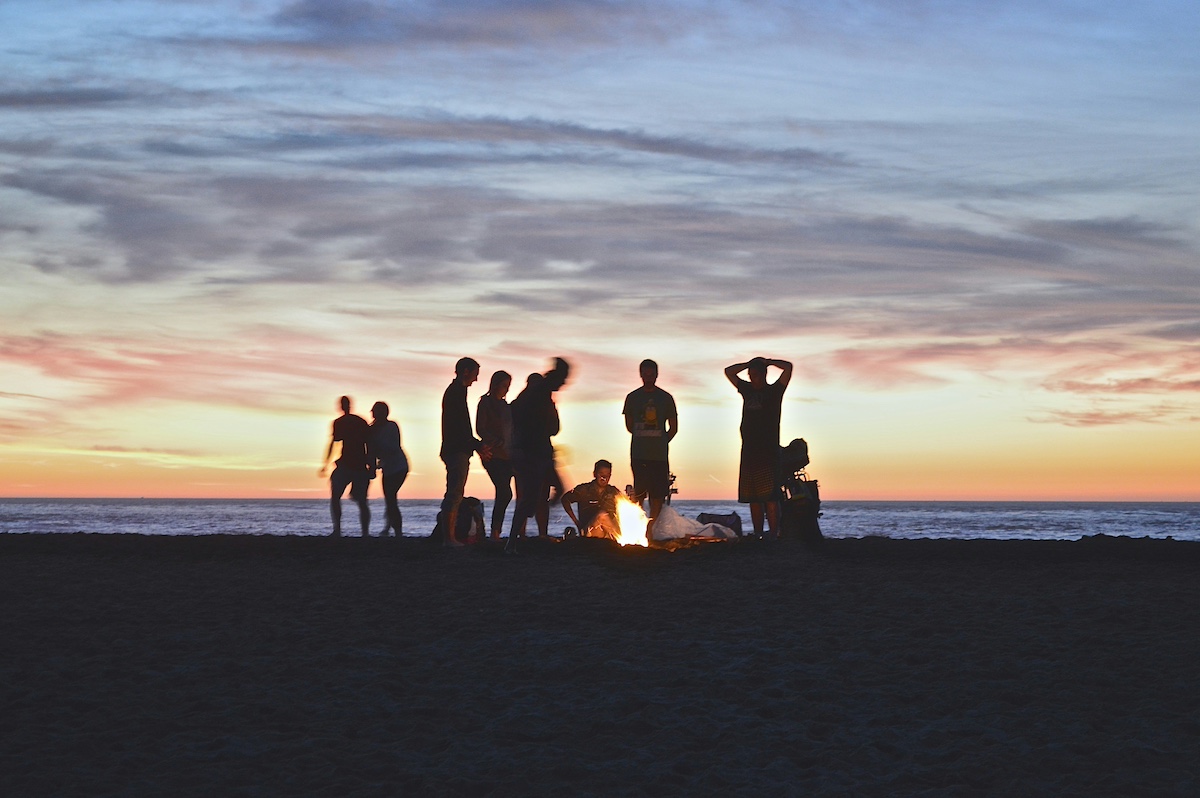
I’ll start out by saying that I’m not a primitive skills expert by any means. I spend a lot of time outside, have built plenty of primitive shelters, and I’m handy with a knife. That said, starting a friction fire is an entirely different thing. It requires a level of persistence that rivals all other camping skills. There are so many things that can go wrong that it seems impossible before you even try. If you master it, you gain a level of confidence in the outdoors that is quite unlike owning a piece of fancy gear. I mean, you can walk into the forest and make a fire with materials that are already out there. It’s pretty damn cool. On our last Field Trip to California, I had a chance to learn this skill from Chad Keel, the founder of a non-profit called the Nature Connection. What I learned was that the hardest part of making a fire with a bow drill isn’t the exciting part you see in most of the photos online.
Videos by Outdoors with Bear Grylls
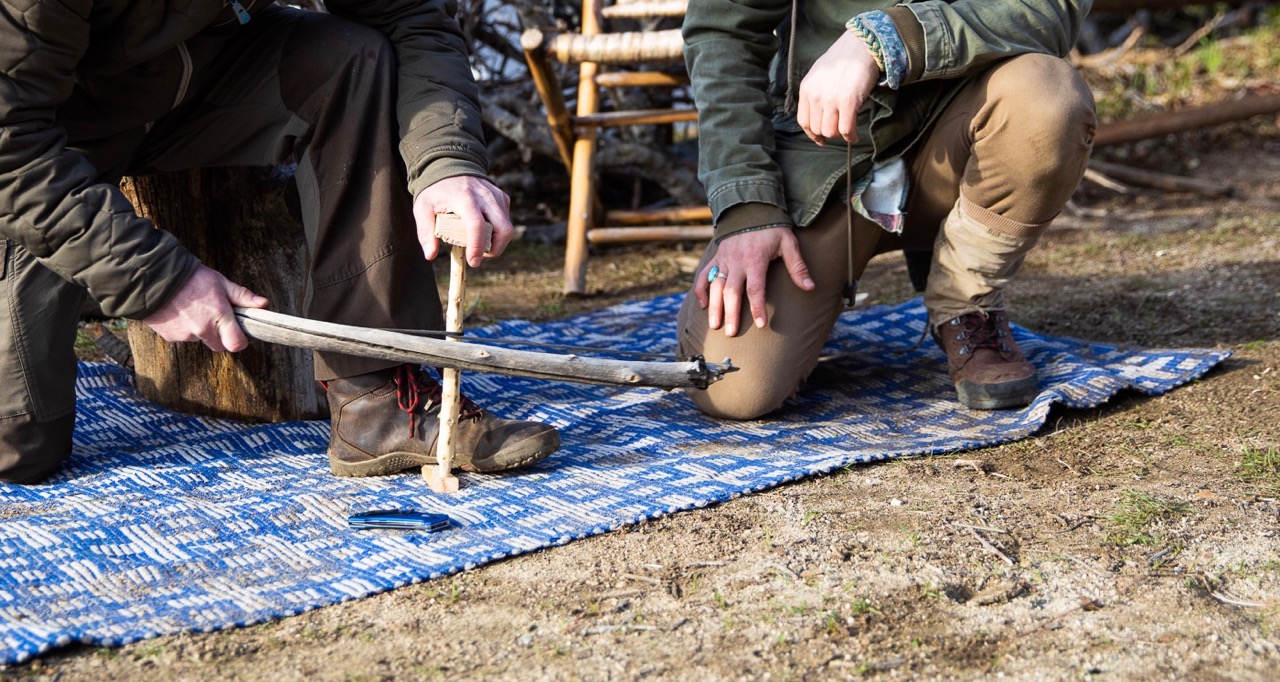
Notching the fireboard so the “punk” can fall out.
Bow drill tutorials often focus on the most exciting part of the process, which is creating the ember with the bow. There is a lot of action and smoke, and it’s fun to watch. I get it. However, getting an ember from a bow drill isn’t that difficult. A bow drill setup consists of the bow, the drill, the fireboard (on the bottom), and the socket (the thing you hold with your hand at the top). If you have a dry drill and fireboard, there isn’t any magic involved in creating the ember. I was able to create a decent ember in less than a minute four different times. Why did I have to do it four times? Because…
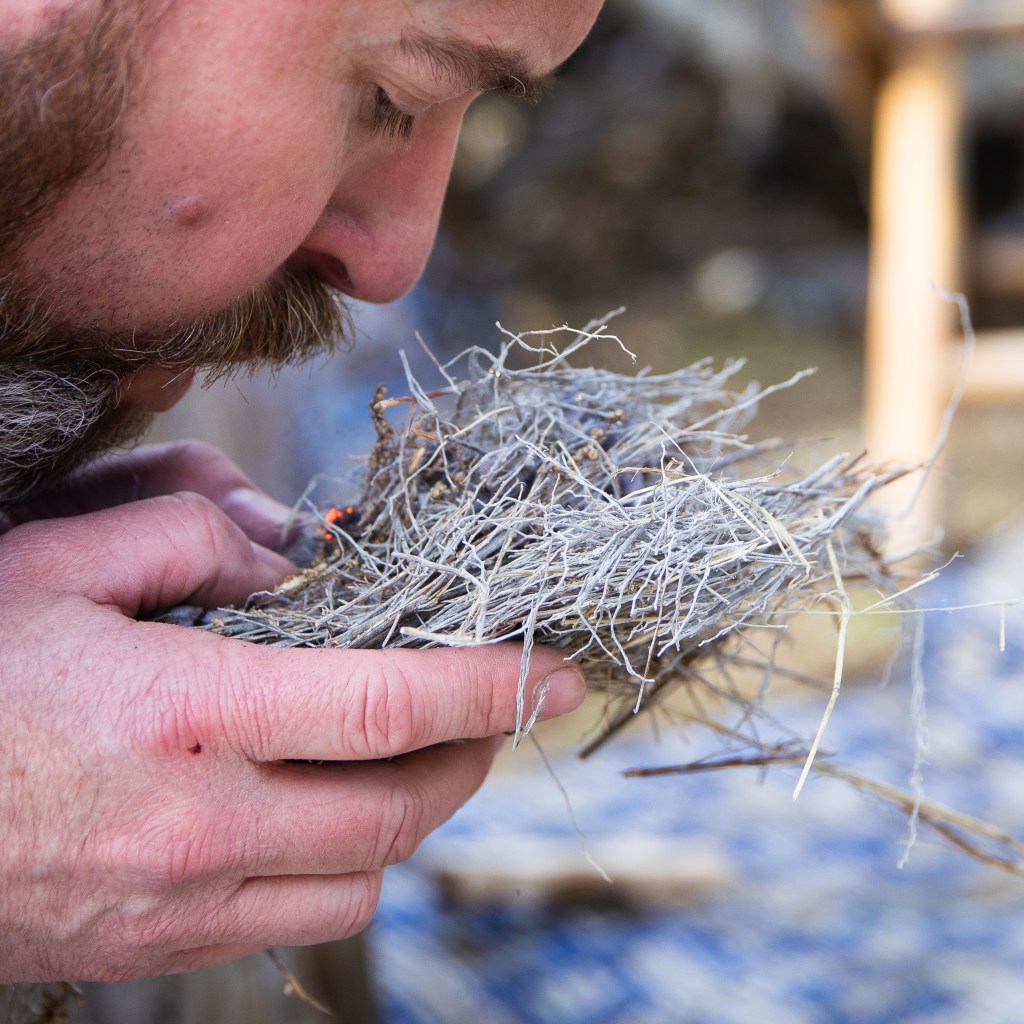
The hard part is creating the tinder bundle.
If the forest is a little damp, you can whittle your fireboard and drill down to dry wood. But – because most tinder is naturally exposed and so fine, even the slightest bit of moisture presents a massive problem for the bow drill. Despite what you might think, it’s tough to start a fire with an ember. The tinder has to be bone dry and as wispy or fluffy as you can get it if you want your bow drill to work. It takes time to scrounge the forest in search of perfect tinder. Chad and I spent about an hour walking around looking for the driest material we could find. In a real survival situation, we might have spent more time on the tinder bundle to ensure a higher chance of success. Walking around looking for tinder doesn’t burn a lot of calories. Running a bow drill over and over because you don’t have the right tinder does. It quickly becomes exhausting, and that’s precisely what you want to avoid if you’ve gotten yourself into a pickle.
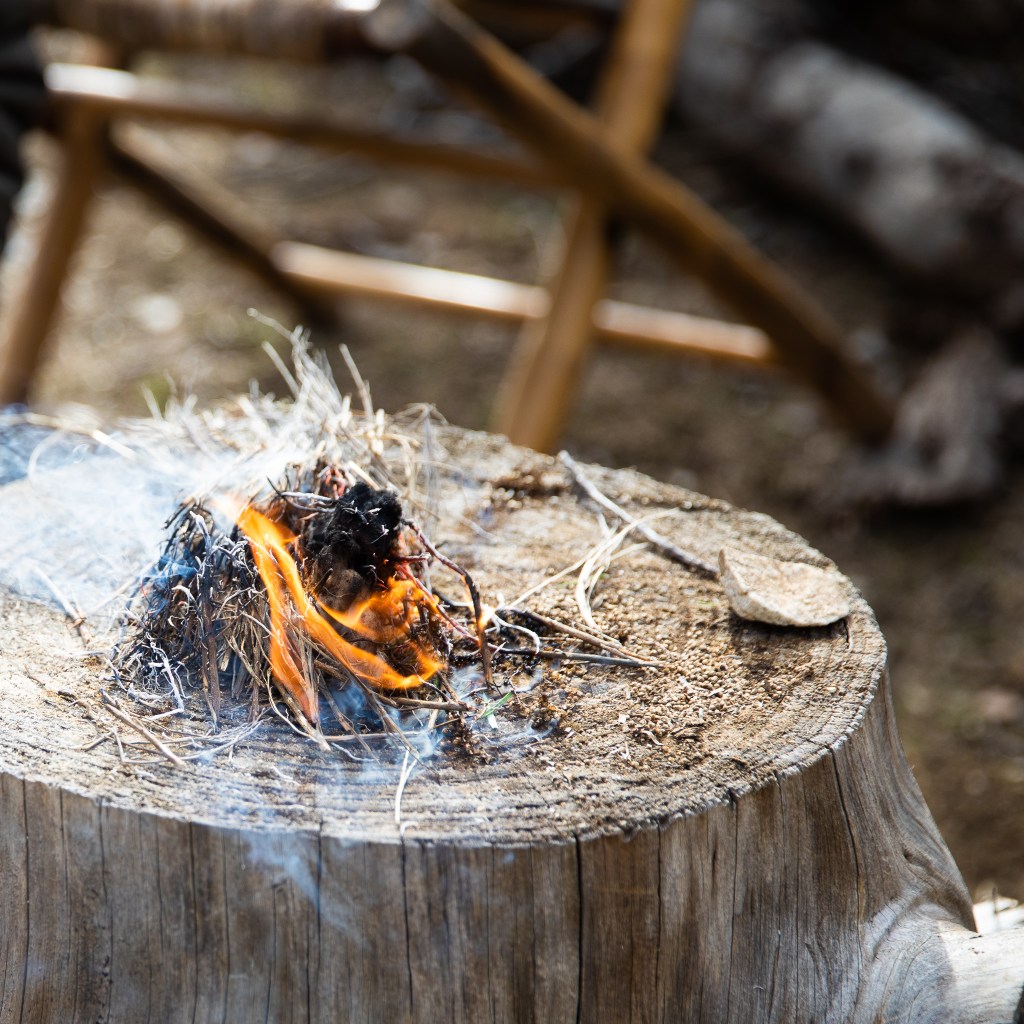
Come on burn baby burn!
I was eventually able to get a fire started after four tries, but because our sage tinder was the slightest bit damp, it created a lot of smoke, which made my eyes water in the worst way. They hurt, but the pain was overshadowed by the fact that I started my first fire without a lighter. Could I have done it without Chad? I doubt it, but I’m looking forward to trying the next time I have a few spare hours in the woods. It is indeed the ultimate test of outdoor perseverance.
The fourth time was a charm!
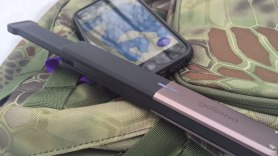
On this trip I was using the Kershaw Link all week. I found it to be a perfect folding camping knife. It has enough weight to it to allow you to really bear down on it for heavier tasks, but it’s still light enough to comfortably carry. The razor sharp blade held an edge all week, and the assisted open was great for times when I only had one hand free. Check out my review of it here.


 On this trip I was using the Kershaw Link all week. I found it to be a perfect folding camping knife. It has enough weight to it to allow you to really bear down on it for heavier tasks, but it’s still light enough to comfortably carry. The razor sharp blade held an edge all week, and the assisted open was great for times when I only had one hand free. Check out my review of it here.

 On this trip I was using the Kershaw Link all week. I found it to be a perfect folding camping knife. It has enough weight to it to allow you to really bear down on it for heavier tasks, but it’s still light enough to comfortably carry. The razor sharp blade held an edge all week, and the assisted open was great for times when I only had one hand free. Check out my review of it here.