
single condition is trueParagraph count: 6If there are more than 3 paragraphs, insert after the 3rd paragraph
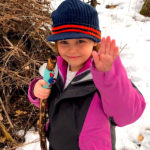 If you’ve spent any amount of time hiking with a child, you know that it doesn’t take long for them to find and pickup a walking stick.
Videos by Outdoors with Bear Grylls
Unfortunately, these sticks are often dead branches that have fallen to the ground, and offer little to no support. I’d like to share a tip with you on creating a walking stick for your child that’ll not only provide them with adequate support, but will also create a sense of responsibility and pride for young outdoors people.
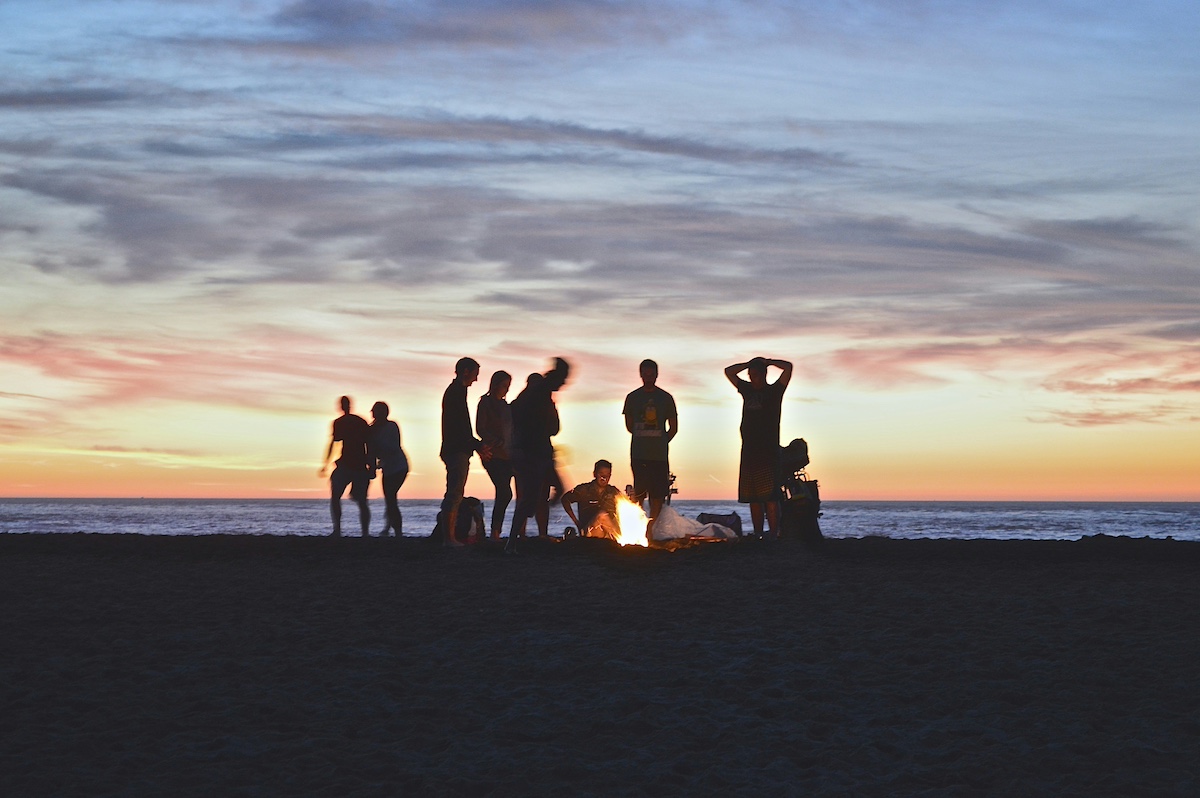
Putting them in charge of their walking stick gives sometimes distracted young hikers something to focus on – and even something to brag about around the campfire.
This is a sponsored article. I am a Bernzomatic Torch Bearer, though all opinions expressed are my own.
- Start off by finding a piece of greenwood that’s adequate height for your child. This is important, as I mentioned earlier – dead wood breaks too easily, and won’t be worth the time that you’ll put into it.
- Using a knife, whittle the bark off of your stick. Depending on the age of your child – you could include them in this step. However, I find enjoyment in working on the walking stick by myself – and then making a ceremony out of presenting the finished walking stick to the child.
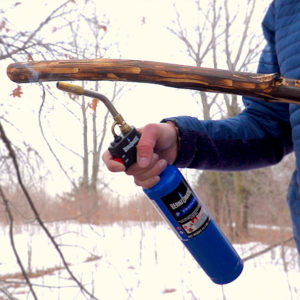
- Once you’ve got your stick bare, I use a Bernzomatic torch to char the outside of the stick. Here, I’m using the Bernzomatic TS4000, which is a high output, trigger controlled torch. It allows me to cover a wide area pretty quickly – resulting in the petinaed look that I’m going for.
- Once you have your stick charred, I used a paper towel to rub away any excess char – keeping it off my kids clothes when we’re out hiking. I figure they get dirty enough on their own!
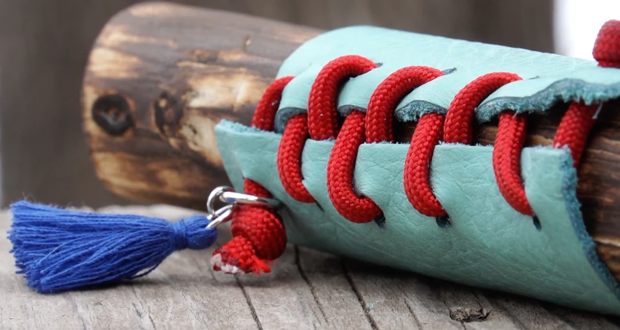
- Now that I’ve got the sticked charred, I’m going to add a leather handle. I picked up this colored leather at an arts & crafts store. If this stick was for me personally, I’d probably choose a different color – but kids love vibrant colors…even in the woods.
- One thing that’s important to keep in mind when cutting your leather, is that it’ll stretch over time – so be sure to account for that with your cut.
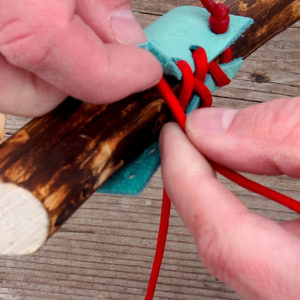
- Using a leather punch, punch out holes down one side of the leather, as evenly as possible.
Continue by matching up holes on the other side of the leather – to create your lacing system. - I’m going to use paracord to lace the handle, with a single back and forth sew. If you’ve got the time – or want a different look, you can lace criss cross back down again.
- To finish off the project, I like to add a charm to the paracord end – to personalize each stick, and so that the kids can tell them apart easily.
Now it’s your turn – get your kids outside, and onto the trail.