
Any time you step out into the backcountry, anything could happen. Frankly, mother nature has her own priorities, and she’s not going to baby us. A bad step could end in a fracture, or you could break through lake ice and find yourself hypothermic within the hour. You could do everything right and still, a tree could fall in the wrong place at the wrong time. Do you know what to do in these scenarios? Here’s some tips and some resources to help you on your way to mastering improvised wilderness medicine.
Videos by Outdoors with Bear Grylls
Note: Nothing Beats Proper Training
In a backcountry emergency situation, any correct information you have will be far better than no information at all. That said, there is no replacement for a verified wilderness first responder course. Reading is great, practicing skills at home is even better, but if you find yourself entering more dangerous backcountry scenarios, it is best for you to seek out professional training. NOLS is one great resource, but there are plenty available. Seek one out that caters to the wilderness challenges you’re hoping to take on.
1. Pack For All Possibilities

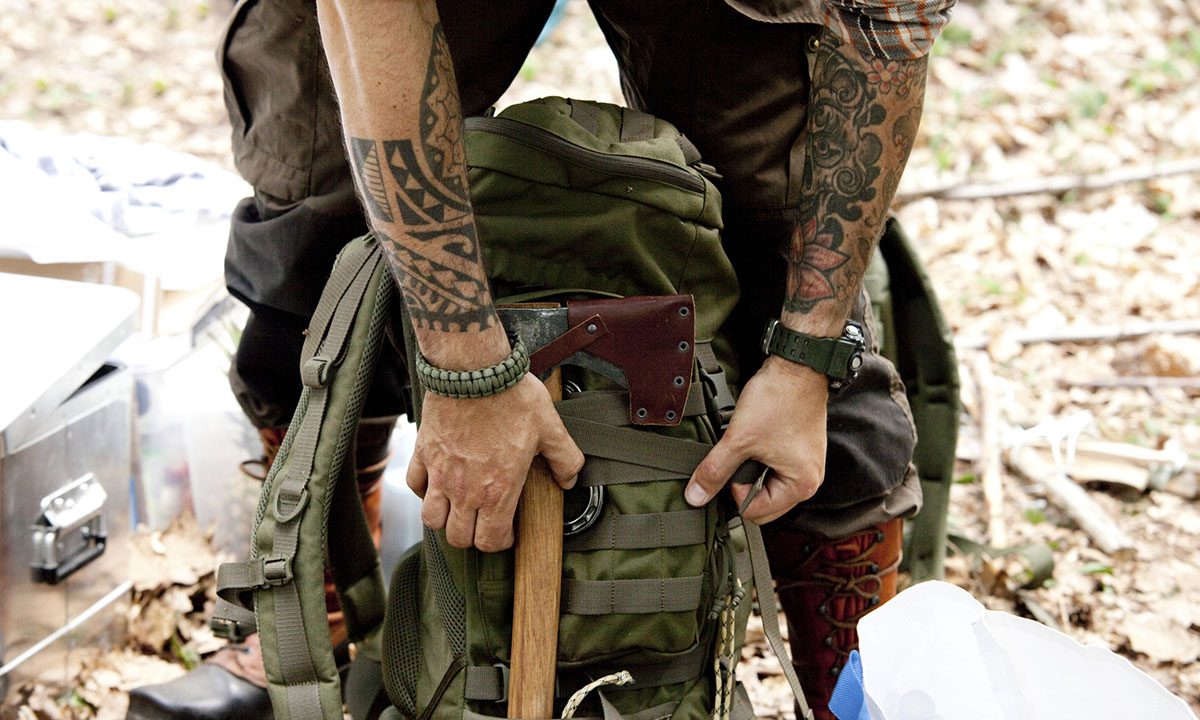
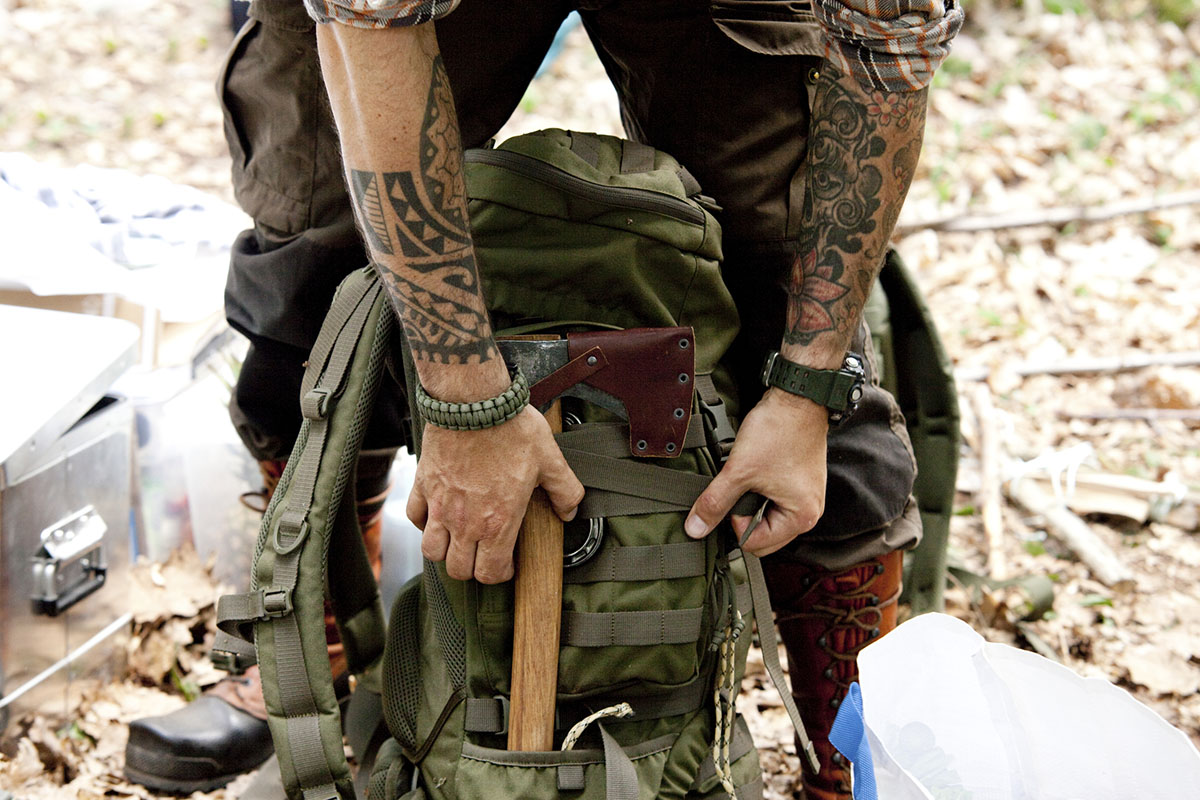
When it comes to improvising wilderness medicine, what you have is what you have. This is why bringing a proper first aid kit is a great idea. The reality, though, is that you won’t always have access to one. Here are a few other items that people commonly have in the outdoors and will be highly applicable in emergency scenarios.
- Duct Tape
- Athletic Tape
- Tarp
- Trekking Poles
- Puffy Jackets
- Foam Pads
- Backpack Straps
- Reflective Emergency Blankets
These are all highly versatile items that can be used for a variety of scenarios. They can help you bandage wounds, improvise splints, or warm someone at risk of hypothermia.
2. Fully Utilize What You Have
Okay, now let’s say you find yourself standing in front of someone who just fell through the ice—they’re out of the water now, but they have under an hour before they go hypothermic. Between your group members, you have three dry, warm sleeping bags, sleeping pads, a tarp, some rope, and a few hand warmers. What do you do?
You’ll want to create a hypothermic wrap, combining those resources to warm your patient up quickly and safely. This is one of those skills you can pretty easily get the hang of at home. By learning principles of heat transfer, you can administer this aid as effectively as possible.
Another classic skill to acquire is improvising a splint. This skill can mean the difference between a fracture with a great evac story and permanent, life-changing damage to one of your limbs. There are a few principles that can guide you: make sure the injured part of the patient is immobilized and supported, ensure there’s appropriate padding between the patient’s limb and the splint’s structure, and be sure the patient’s circulation isn’t being cut off.
Again, there’s no replacement for professional, one-on-one training when it comes to mastering splints. If you suspect somebody has a spinal injury, for example, and you aren’t trained to deal with that, seek evacuation and don’t injure them further. A mentor with search and rescue experience can teach you how to make full use of what you have. Chances are, you’ll have everything you need in your backpack, you just need to know what it’s good for.
3. Keep It Clean

Cleaning and dressing a wound is a skill that just about all of us will learn in our lives. It’s easy in the frontcountry—wash out the injury, clean it, cover it with a sterile bandage. Once you’re in the backcountry, though, things get more complicated. What do you have that’s sterile? How can we disinfect this?
Essentially (a running theme), do what you can with what you have. If you have disinfected water to drink, it’s safe to use for a rinse. Many people will pack out small, single-use disinfecting wipes for blisters, and those are a great resource in this scenario too. Infection is no joke, so short of a medical kit, it’s great to pack out some gauze. You can do some things wrong in this scenario and be okay, but if you can properly clean the wound, the medical professionals you eventually reach will thank you.
4. Know Your Acronyms
Anyone who works in healthcare can probably share a wide range of acronyms that they use to remember procedures. By helping us remember which steps to take, these acronyms contain potentially life-saving information. NOLS uses them to great effect, so if you take one of their courses, you’re sure to walk away with some of these in your mental database. Here’s a couple notable ones to get you started.
SAMPLE:
- Symptoms
- Allergies
- Medications
- Pertinent History
- Last Intake/Output
- Events
The concept of “SAMPLE” is taught in most first aid and CPR courses, and it’s a vital tool to make sure you collect necessary information in an emergency situation. Provided your patient is conscious, go down the list and try to remember his or her responses. When you do eventually make contact with medical professionals, this is the information they’ll ask you for.
CSM:
- Circulation
- Sensation
- Motion
These three letters are especially vital when binding sprains or improvising splints. Ensure that your patient’s extremities are pink and warm so you know his or her blood flow isn’t restricted. Make sure he can feel his fingers and toes and wiggle them. You don’t want to make things worse in your efforts to help.
Future You Will Thank You
It takes some considerable hubris to think nothing could ever happen to you in the backcountry. Use these tips as a foundation and get yourself ready for those possible future mishaps. Each new experience, even if it’s a little terrifying, will teach you something new. Whatever skills and knowledge you take the time to acquire could be the key to a happier, healthier you in the eventuality of an accident. And remember, don’t panic.
